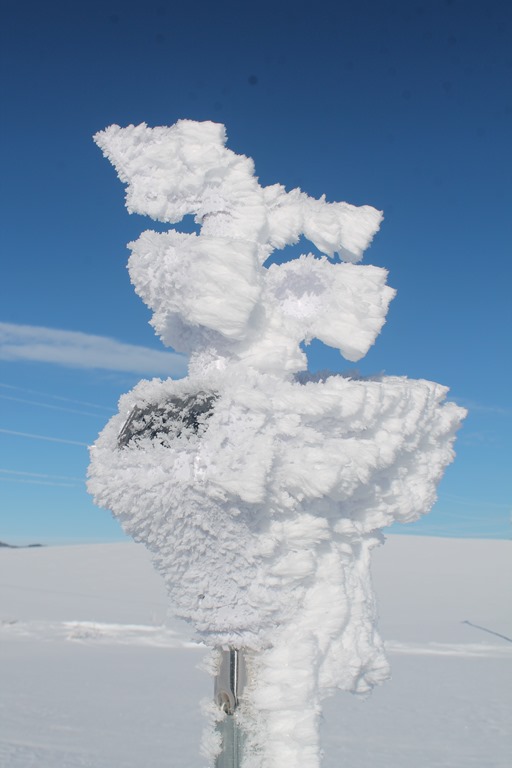
I have been having problems with the Boomershoot weather station since the first few hours daughter Kim and I installed it. The Hoarfrost accumulated overnight immobilized the wind sensors:
There were other problems as well. The communication between the “indoor” part of the unit and the outdoor sensors, above, was not reliable. I didn’t have a indoor environment for it. This indoor part uses an ethernet cable to connect to the Internet and a 900 MHz radio link to connect to the outdoor sensors. I put it in a plastic box that only barely protected it from direct exposure to the elements. And the insects, such as earwigs and yellow jackets made it their home:
Sometimes the connection would go down just an hour or so after I rebooted things, got it working, and was on my way home six hours away. And then there was the time it stopped recording rainfall. It turned out a bird had pooped in the rain gauge and plugged it up.
I tried moving the sensor closer to the Internet connection unit without improvement. Then when I visited just before Christmas I decided it was time to purchase a new weather station. The wind sensors were immobilized by freezing rain:

I realize the manufacture is based in Arizona, but they are making a product intended to be used to measure weather conditions. It’s not like I installed this sensor in Barrow Alaska or something. Sure, this is a bit hostile, but it shouldn’t be unexpected to the designers.
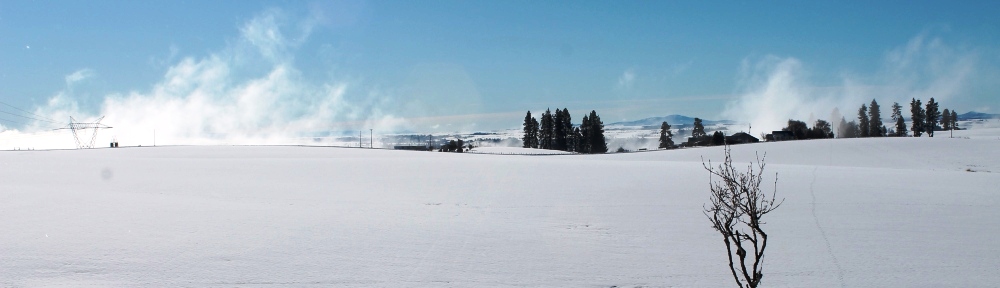
Last weekend I installed a new weather station and made the “indoor” environment a little better.
It’s not really a coincidence that both the initial installation and this upgrade took place in January. There isn’t time to do it just before Boomershoot. And it’s easier to do it before the mud is so soft that you can’t easily walk across the ground. But the cold does make it a hardship. This year, compared to the initial installation, I was able to drive instead of snowshoeing in like last time, to the shooting line where we have the weather station… after I shoveled a path through berm in front of the driveway.
Before:

After:

To improve the environment for the “indoor” electronics I dug a pit and installed an underground box for the solar charged batteries, the charge controller, the 12V –> 24V switching power supply for the Wi-Fi connection, and the 12V –> 5V switching power supply for the ethernet switch and the weather station “indoor” electronics.

It was just above freezing temperatures and frequently raining when I was working. Moving 130 pound batteries into the pit and connecting all the wires was less than fun. Notice the mud I was kneeling in to work on things:

The end result looks pretty good. I insulated the lid and with the underground environment, some heat from the batteries and electronics, the temperature should be less extreme both in the summer as well as the winter.

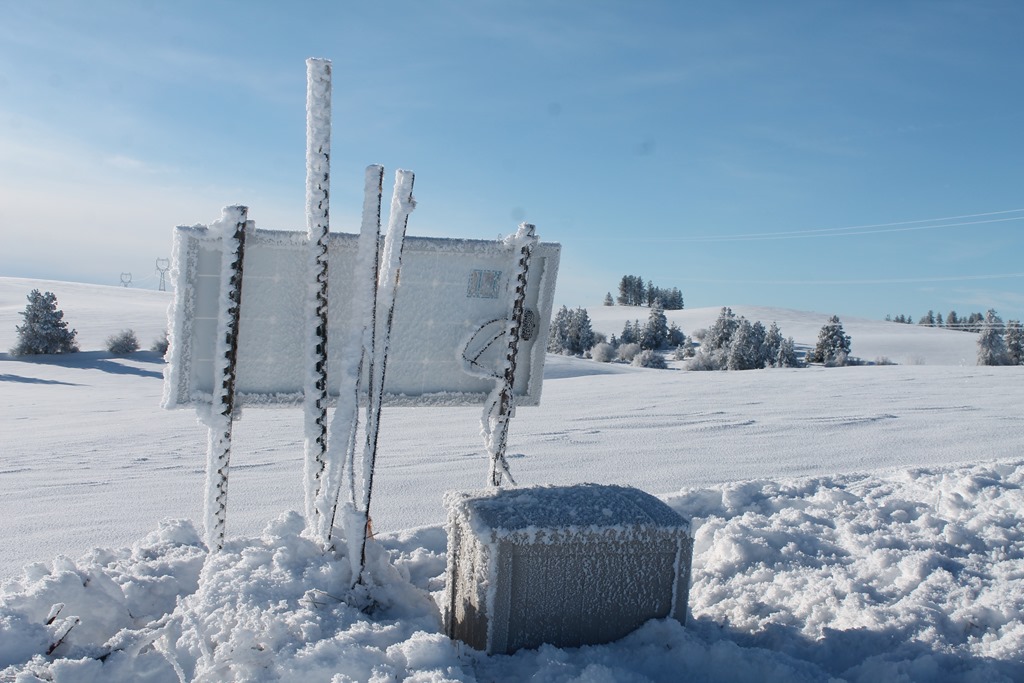
Here is the new outdoor sensor array:

The spikes over the rain gauge are supposed to keep the birds from sitting on the edge and building nests in it. I don’t know that the wind sensors are more resistant to frost and freezing rain but I know the old one didn’t tolerate those conditions well.
It’s been almost a week now with no interruptions in service to the Boomershoot live web page.
Do us a favor please and review the new weather station after a bit…
I have a 10 year old Davis that is gonna need replacing soon. The rain gauge is intermittent and the solar panel is clouded enough by the UV that it needs replacement. If there is a better unit available I’d like to find it.
Sure. If I don’t get around to it in what you think is a timely matter send me an email to remind me.
That’s some hoar frost! It would make a good advertisement if something can keep working in those conditions! But then how do you accurately describe the weather conditions when meter station is froze up?
Curious what unit you went with and a little more info on the complete setup. I’ve been kicking around the idea of planting a few of those around our fields. I assume you can plug in a soil moisture probe for one of your sensors?
I have not investigated soil moisture sensors. I don’t think this one (Ambient Weather WS-1550-IP) has that option. But they do have others that do.
On the solar side of things I have two of these solar panels charging two of these batteries. I use a Renogy Wanderer LI 30 PWM charge controller.
For the Internet connection I use a Ubiquiti Nanostation. It will run on 12 V but prefers 24 V so I boosted the volt with an adjustable switching power supply. Unless you are into hobbyist electronics I would just run it on 12 V and be aware that you may lose Internet when the battery hasn’t fully discharged.
If you want to add a webcam then you will probably need a ethernet switch as well. This requires it’s own switching power supply too unless you can find a low power unit that runs on 12 volts.
Thanks for the info. Everything I’ve looked at before was $500+ and didn’t have an ethernet port.